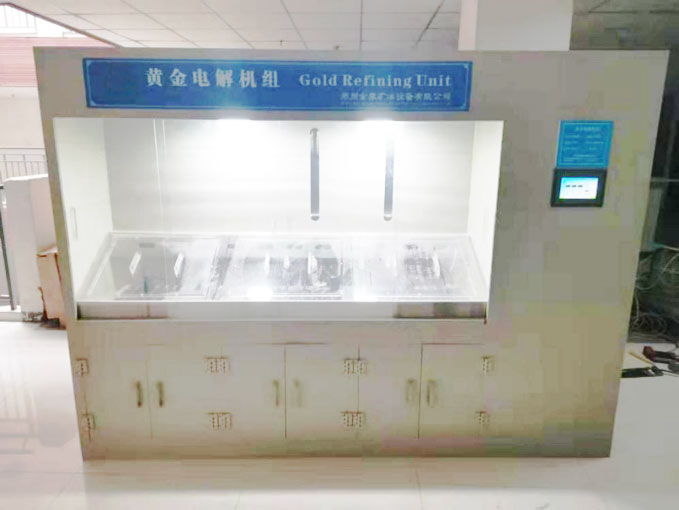
diy gold and silver smelting
DIY Gold and Silver Smelting
Smelting is an ancient technique used to extract metals from their ores or refine them into purer forms. The process involves heating the metal to its melting point and separating impurities. While traditionally performed in industrial settings, DIY gold and silver smelting has become popular among hobbyists, jewelers, and small-scale miners. This article will guide you through the basics of DIY gold and silver smelting, providing insights into the equipment, process, and safety precautions required for successful smelting at home.
Understanding DIY Gold and Silver Smelting
DIY gold and silver smelting refers to the process of melting and refining these precious metals in a home setup. For many, smelting is a way to recover valuable metals from scrap jewelry, coins, or ore. Whether you’re looking to recycle old gold or refine raw silver, smelting at home can be both cost-effective and rewarding.
Essential Equipment for DIY Gold and Silver Smelting
To begin DIY gold and silver smelting, you’ll need some specialized equipment. While the process might seem simple, using the right tools is critical for achieving quality results.
Smelting Furnace
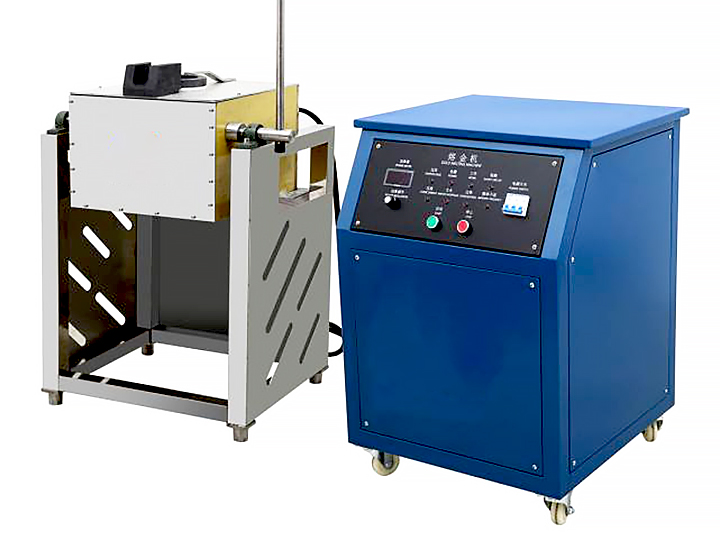
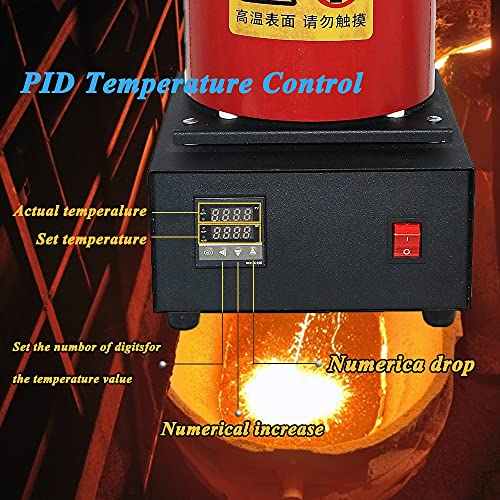
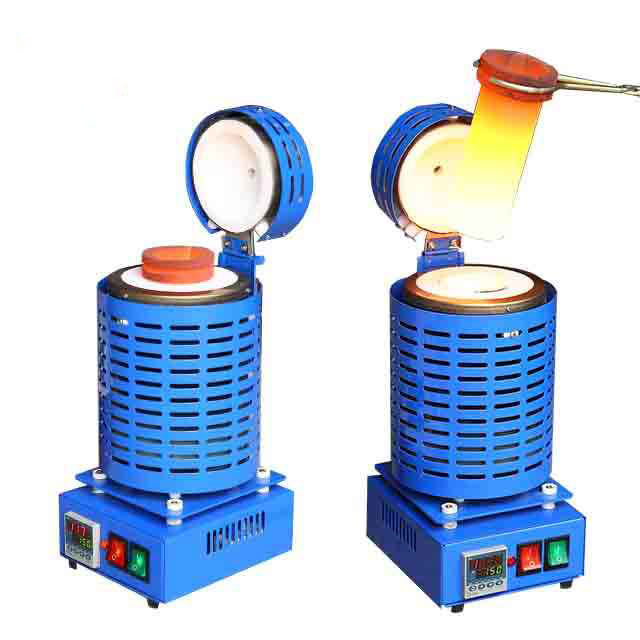
The furnace is the heart of the smelting process. For DIY purposes, a small propane or electric furnace is often used. These furnaces can reach temperatures high enough to melt both gold and silver. It’s essential to choose a furnace that can maintain consistent temperatures to ensure proper metal melting.
Crucibles
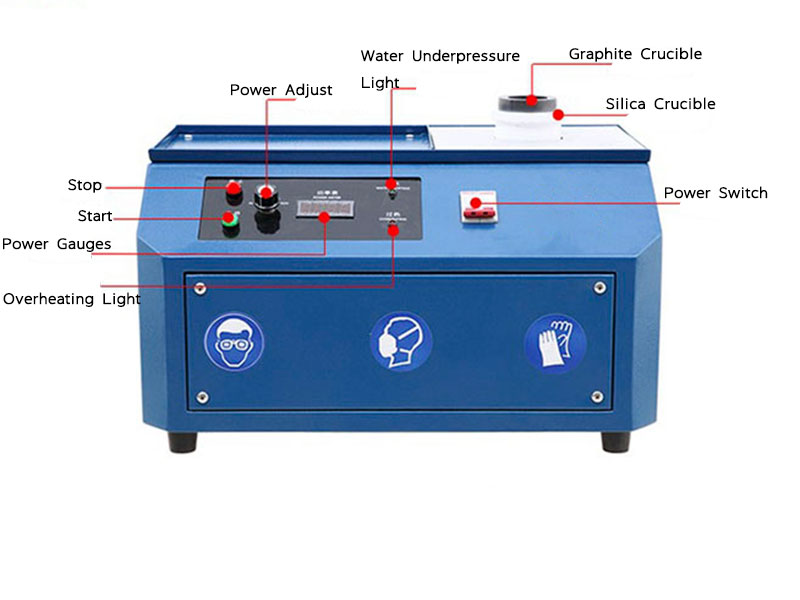
A crucible is a container used to hold metals during smelting. It must be able to withstand extreme heat without breaking down. Graphite and ceramic crucibles are commonly used in DIY gold and silver smelting due to their high melting points and durability.
Flux
Flux is a chemical substance used in smelting to help separate impurities from the metal. For gold and silver, a common flux mixture includes borax and soda ash. The flux melts alongside the metal, capturing impurities and allowing them to be removed from the precious metals. Proper flux use is essential for refining the gold or silver.
Tongs and Safety Gear
Handling molten metal requires protective gear, including high-temperature tongs, heat-resistant gloves, and a face shield. Smelting can produce dangerous fumes and splashes of molten metal, so wearing the right protective equipment is crucial to avoid injury.
The DIY Gold Smelting Process
Smelting gold at home can be an exciting and rewarding process. Below are the basic steps for DIY gold smelting:
1. Prepare the Materials
Before starting the smelting process, gather your gold and flux materials. The gold can come from various sources, such as old jewelry or scrap metal. The flux will help separate impurities from the gold.
2. Heat the Furnace
Set up your smelting furnace and preheat it to the appropriate temperature. Gold’s melting point is approximately 1,064°C (1,947°F), so your furnace must reach and maintain this heat level. Once the furnace reaches the correct temperature, it’s ready for smelting.
3. Add Gold and Flux to the Crucible
Place the gold and flux mixture into the crucible using tongs. Make sure the flux is evenly distributed around the gold, as this helps ensure impurities are effectively captured.
4. Melt the Gold
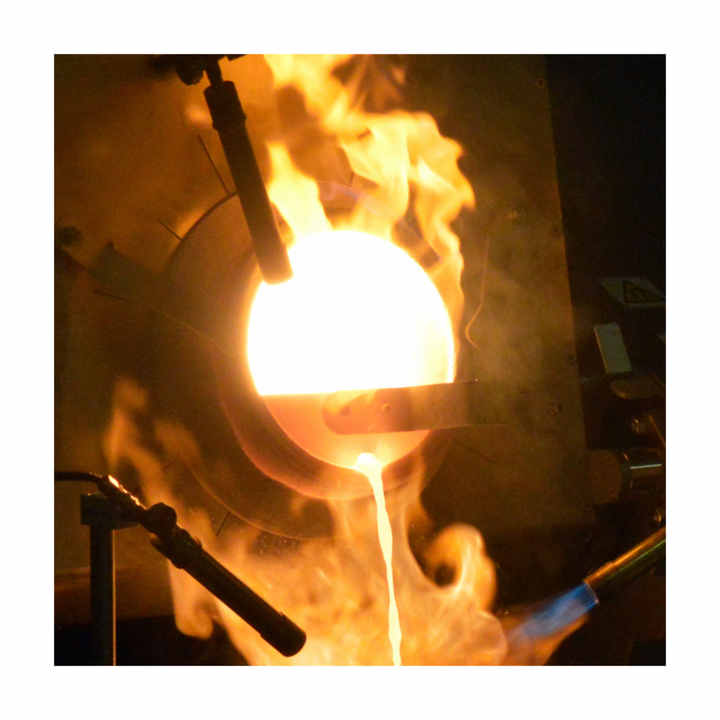
Once in the furnace, the gold will begin to melt. Keep a close eye on the process, adjusting the heat as needed to maintain a steady temperature. The flux will liquefy and float on the surface of the molten gold, trapping impurities.
5. Pour the Molten Gold
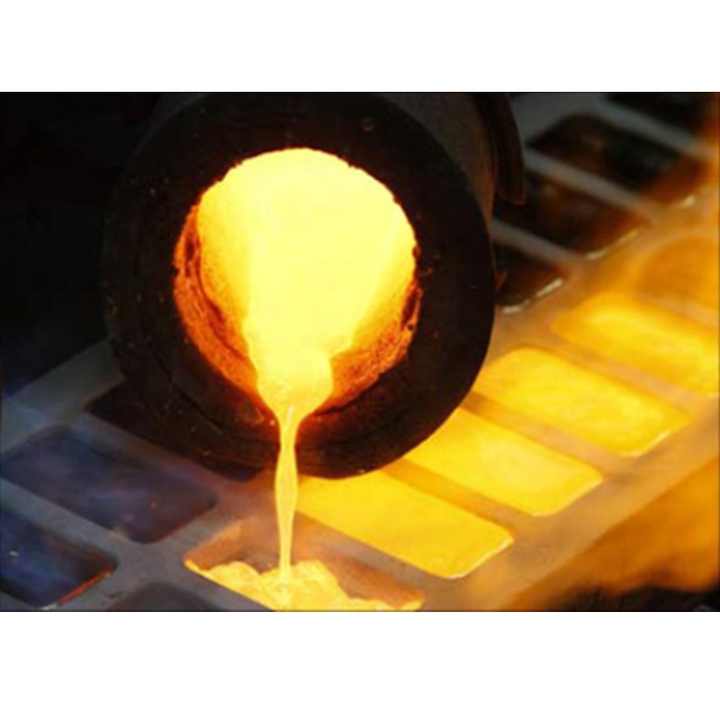
When the gold is fully melted and impurities have been separated, carefully remove the crucible from the furnace using tongs. Pour the molten gold into a mold, allowing it to cool and solidify. Once cooled, you can remove any remaining flux residue to reveal your refined gold.
The DIY Silver Smelting Process
Similar to gold, DIY silver smelting follows a similar process, with a few variations due to silver’s properties.
1. Prepare the Materials
Gather your silver material, such as scrap jewelry or ore, along with the appropriate flux. Silver’s melting point is lower than gold, at approximately 961°C (1,764°F), so be mindful of the furnace temperature.
2. Heat the Furnace
Preheat your furnace to the required temperature for silver. Maintaining a stable temperature throughout the process is key to preventing over or under-melting the silver.
3. Combine Silver and Flux
Add the silver and flux into the crucible. For silver smelting, common flux mixtures may include borax and silica, which help remove impurities from the metal.
4. Melt the Silver
Place the crucible into the furnace, allowing the silver to melt completely. As with gold smelting, the flux will rise to the top, trapping unwanted elements.
5. Pour and Cool
Once the silver is molten, remove the crucible from the furnace and pour it into a mold. Allow the silver to cool and solidify before removing the final product. The flux residue can be removed, leaving behind refined silver.
Safety Tips for DIY Gold and Silver Smelting
Smelting metals at home involves high heat and potentially hazardous materials, so safety should always be a priority. Here are some essential tips for staying safe while conducting DIY gold and silver smelting:
- Work in a well-ventilated area: Smelting can produce dangerous fumes, so always work in a space with proper ventilation.
- Use proper safety gear: Heat-resistant gloves, protective eyewear, and a face shield are must-haves when working with molten metal.
- Handle chemicals with care: Flux and other chemicals can be harmful, so follow safety guidelines for handling and storage.
- Keep a fire extinguisher nearby: In case of emergencies, having a fire extinguisher on hand is critical.
- Avoid distractions: Smelting requires focus and attention, so stay alert throughout the process to avoid accidents.
Why Smelt Gold and Silver at Home?
There are many reasons why people choose DIY gold and silver smelting. For some, it’s a way to recycle old or unwanted jewelry into new pieces. For others, smelting is a means of refining raw ores or recovering precious metals from electronic waste. Whatever the reason, DIY smelting offers a hands-on approach to working with valuable metals.
Smelting your gold and silver can also be a cost-effective way to produce pure metals for crafting or investment purposes. By cutting out the middleman, hobbyists and small-scale artisans can produce high-quality metals for a fraction of the cost of purchasing already-refined materials.
DIY gold and silver smelting is an accessible and rewarding process for those interested in metalworking. By following the proper steps, gathering the right equipment, and prioritizing safety, you can successfully smelt and refine gold and silver at home. Whether you’re a hobbyist, jeweler, or small-scale miner, DIY smelting offers a unique opportunity to turn scrap metals or raw ore into valuable, refined materials ready for use in various applications.

