Releated Products
-
-
-
-
-
-
-
-
-
-
diy silver refining at home
DIY Silver Refining at Home
Silver refining is a process used to purify silver, turning impure or scrap silver into high-quality, pure silver. While industrial refining methods are commonly used, it is possible to refine silver at home using simple tools and techniques. DIY silver refining at home can be a cost-effective way to recycle scrap silver and create pure silver for crafting, jewelry making, or investment. This article will guide you through the steps, tools, and safety precautions needed for refining silver at home.
What You’ll Need for DIY Silver Refining
Before starting the refining process, it’s essential to gather the necessary materials and tools. Here’s a list of items you’ll need for refining silver at home:
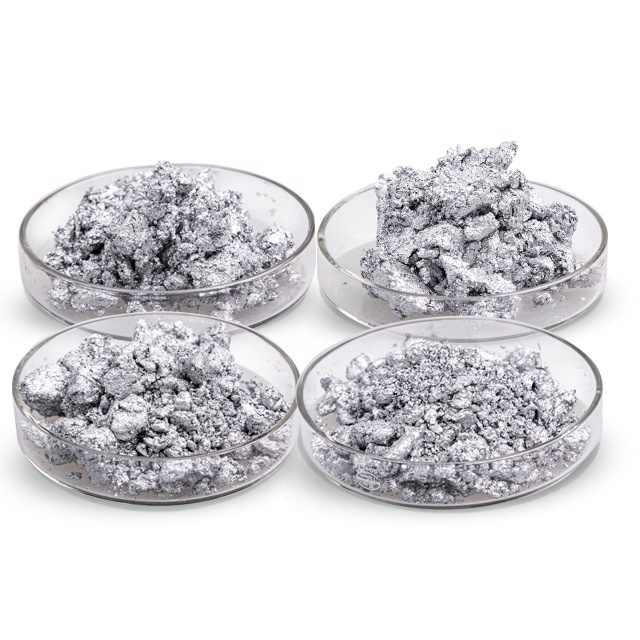
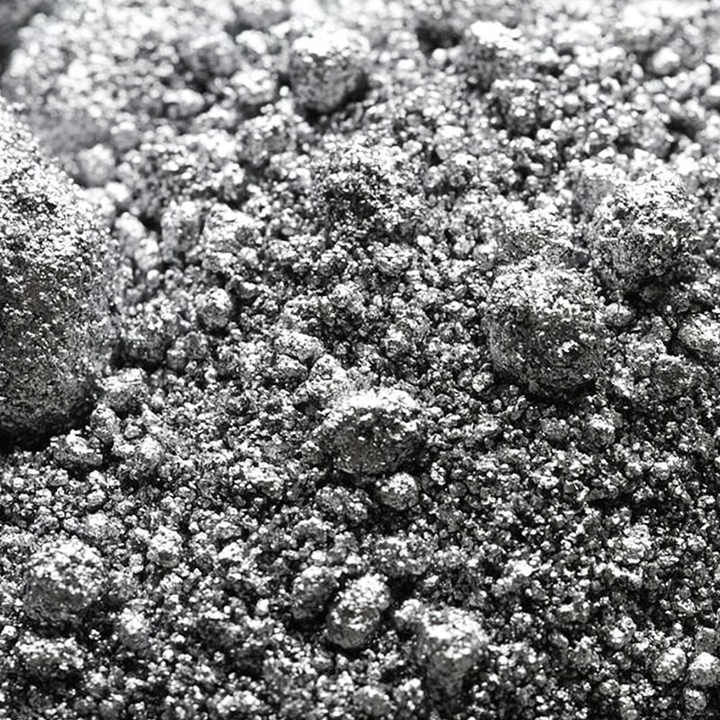
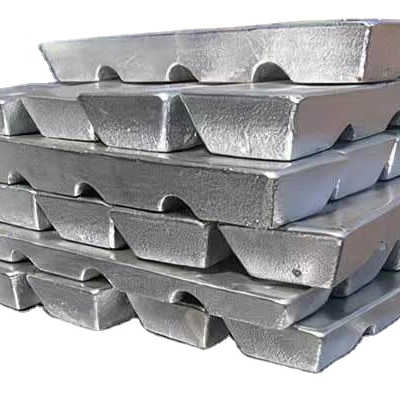
- Scrap Silver: Old jewelry, coins, silverware, or any other silver-containing items.
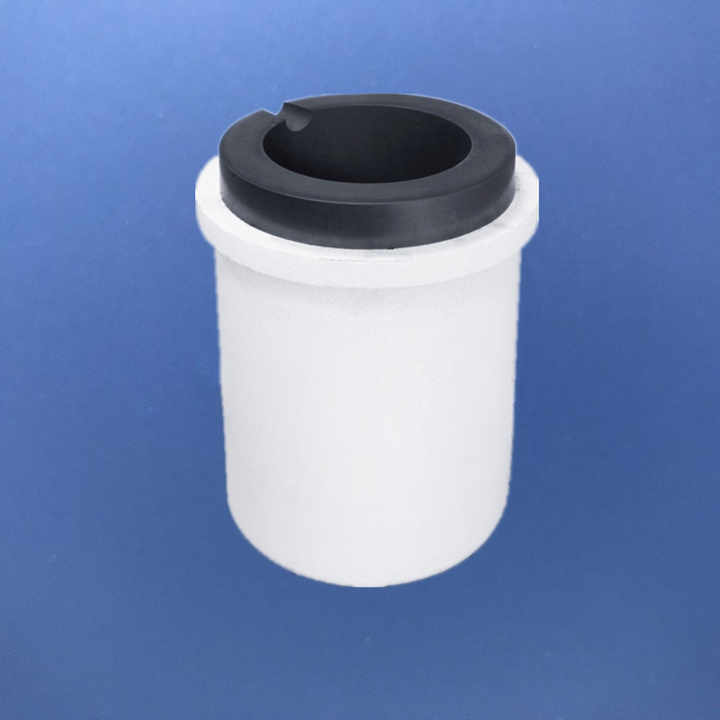
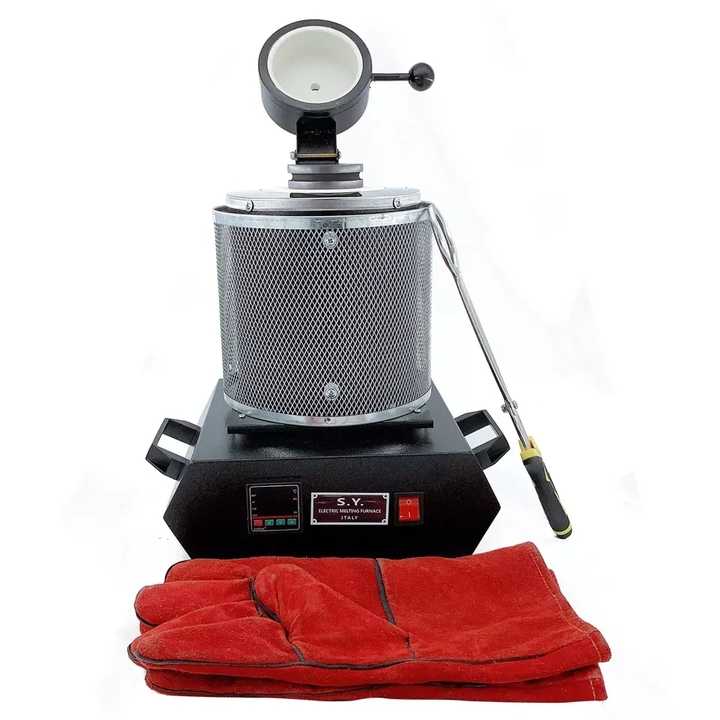
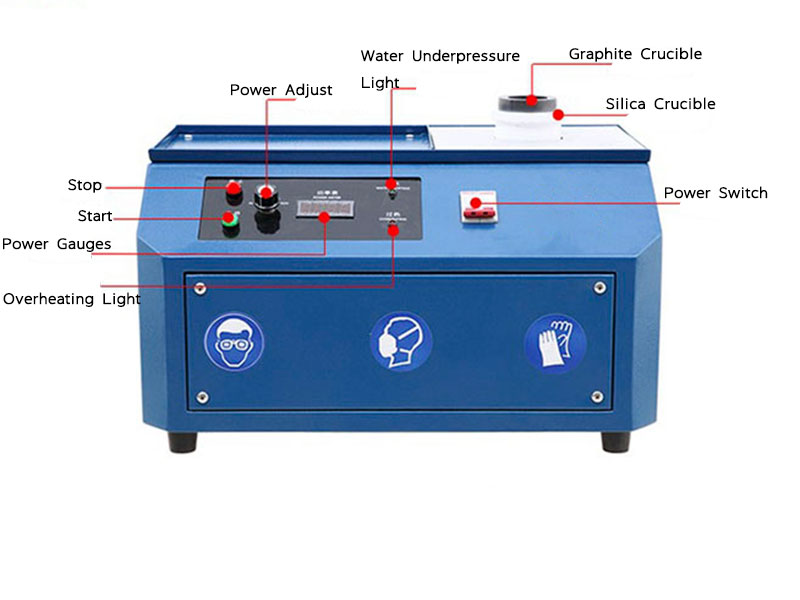
- Crucible: A heat-resistant container to hold the silver while it melts.
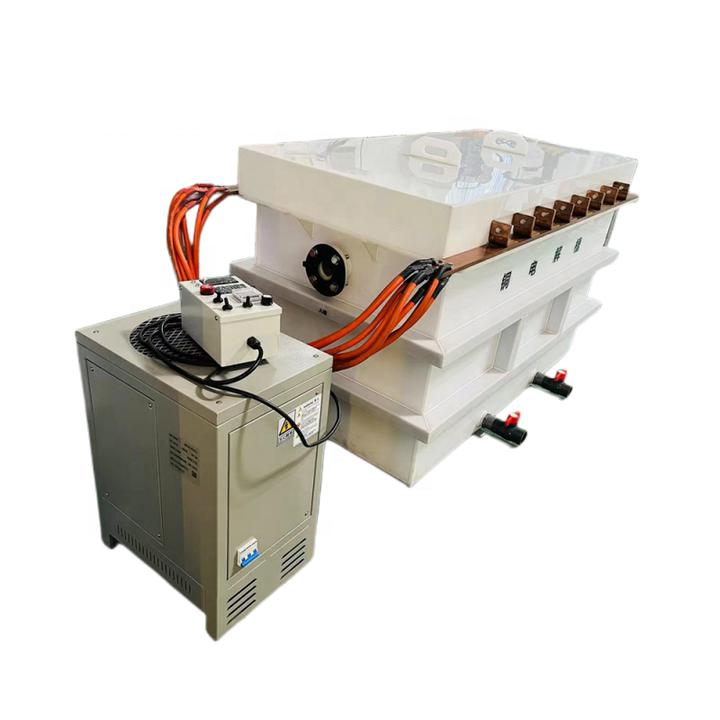
- Blowtorch or Furnace: A tool capable of reaching the high temperatures needed to melt silver.
- Borax or Soda Ash: Used as a flux to bind with impurities and separate them from the molten silver.
- Protective Gear: Heat-resistant gloves, safety goggles, and a face mask to protect against heat and fumes.
- Refining Chemicals: Nitric acid or other refining agents to dissolve and separate silver from impurities.
Steps for DIY Silver Refining at Home
Refining silver at home requires careful attention to detail and safety. Follow these steps to ensure a successful refining process:
1. Collect and Sort Scrap Silver
The first step in the silver refining process is to gather your scrap silver. This can include old silverware, broken jewelry, or even silver coins. Ensure that the scrap you collect is silver and not plated with other metals. Sorting your scrap based on its purity will help you achieve better refining results.
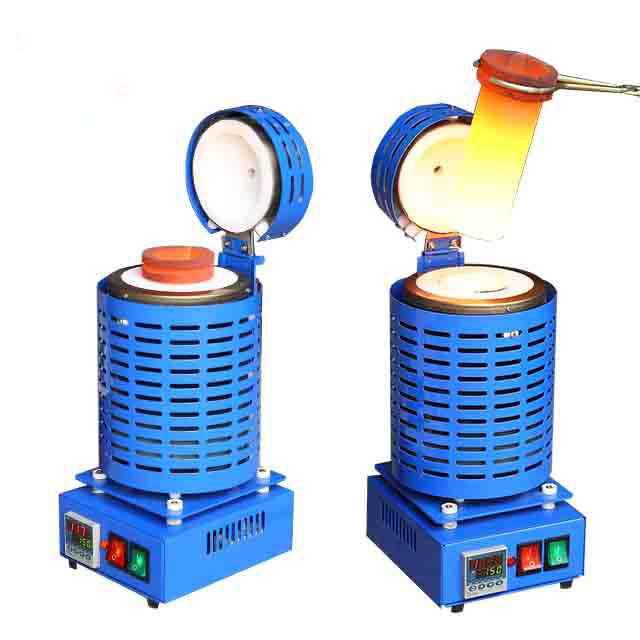
2. Melt the Scrap Silver
Once you’ve collected enough scrap silver, the next step is to melt it down. Place the scrap silver into the crucible, and use a blowtorch or furnace to heat it to its melting point, which is approximately 962°C (1,764°F).
- How to melt silver: Direct the flame of the blowtorch onto the silver in the crucible. It will begin to melt and turn into a liquid form. Be cautious and wear protective gear, as the heat can be intense.
3. Add Flux to Remove Impurities
As the silver melts, impurities will rise to the surface. To separate these impurities from the pure silver, add a small amount of flux—usually borax or soda ash—into the molten metal. The flux binds with the impurities and forms a layer of slag on top of the molten silver.
- Skimming the slag: After the flux has done its job, use a metal spoon or skimmer to carefully remove the slag from the surface of the molten silver. This step will leave you with cleaner, purer silver.
4. Pour the Molten Silver
Once you’ve removed the impurities, you can pour the molten silver into a mold to create ingots or bars. Carefully tilt the crucible and pour the liquid silver into the mold. Allow the silver to cool and solidify.
- Cooling and hardening: The silver will cool within a few minutes, depending on its volume. Once it has hardened, remove the silver from the mold.
5. Further Refinement Using Chemicals
If the silver still contains impurities after melting and skimming, you can refine it further using chemical methods. One common chemical method involves using nitric acid to dissolve the silver and separate it from other metals.
- Nitric acid method: Add the silver to a container and cover it with nitric acid. The acid will dissolve the silver and leave impurities behind. The resulting silver solution can then be treated to precipitate pure silver.
6. Precipitate Pure Silver
Once the silver has dissolved, you can precipitate pure silver from the solution by adding a chemical such as sodium chloride (table salt) or hydrochloric acid. This will cause the silver to form a solid precipitate, which can then be filtered and washed.
- Melting the precipitate: After you’ve collected the silver precipitate, it can be melted again to create pure silver bars or ingots.
Safety Precautions for DIY Silver Refining
Silver refining involves high heat and hazardous chemicals, so safety is crucial. Here are some important safety tips to keep in mind:
- Use Proper Ventilation: The chemicals used in silver refining, such as nitric acid, release toxic fumes. Work in a well-ventilated area or use a fume hood to avoid inhaling harmful gases.
- Wear Protective Gear: Always wear heat-resistant gloves, goggles, and a face mask when working with high temperatures and chemicals.
- Handle Chemicals Carefully: Nitric acid and other refining chemicals are highly corrosive. Store them in safe containers, and follow proper disposal guidelines to protect yourself and the environment.
Benefits of DIY Silver Refining
Refining silver at home offers several benefits, particularly for hobbyists, artisans, and those looking to recycle precious metals. Some of the advantages include:
- Cost Savings: Refining scrap silver at home is a cost-effective way to create pure silver without relying on professional services.
- Customization: You can melt and shape your silver into custom sizes and forms, making it ideal for jewelry making or other artistic projects.
- Environmental Benefits: Recycling and refining silver help reduce waste and minimize the need for new mining operations, which can have a significant environmental impact.
DIY silver refining at home is a rewarding process that allows you to recycle and purify scrap silver into high-quality, pure metal. By following the steps outlined above and taking necessary safety precautions, you can successfully melt and refine silver in the comfort of your own home. Whether you’re refining silver for crafting, investment, or personal satisfaction, this process opens up a world of possibilities for creating valuable silver products.