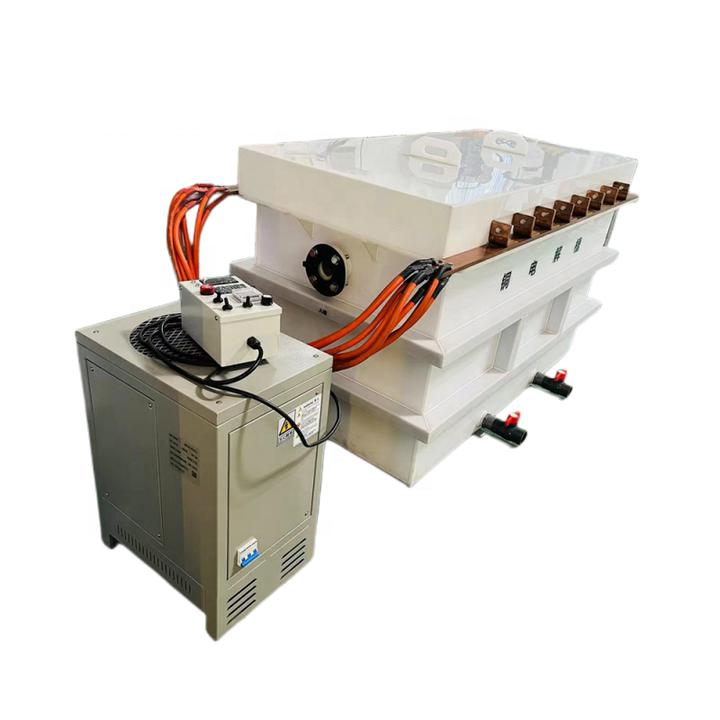
Releated Products
-
-
-
-
-
-
-
-
-
-
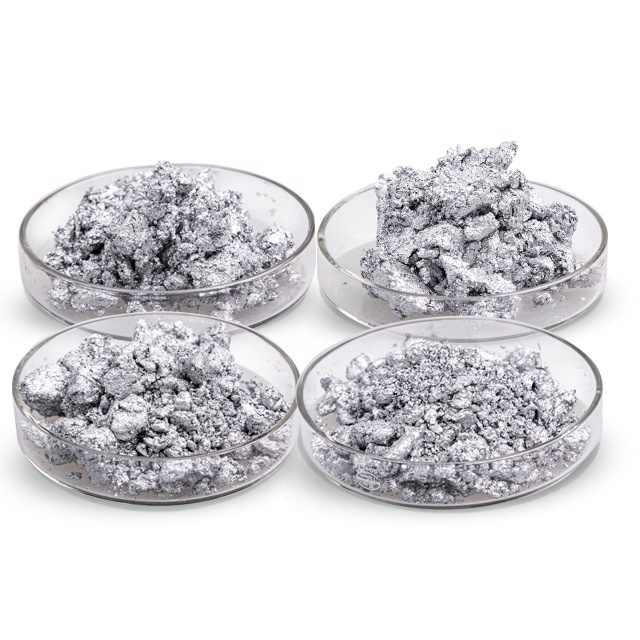
diy silver refining at home
DIY Silver Refining at Home A Step-by-Step Guide
Refining silver at home can be a rewarding and cost-effective process for those who wish to recycle scrap silver or purify their silver collection. With the right tools and knowledge, you can efficiently refine silver yourself. This article will guide you through the essential steps and considerations for DIY silver refining at home.
Understanding the Basics of Silver Refining
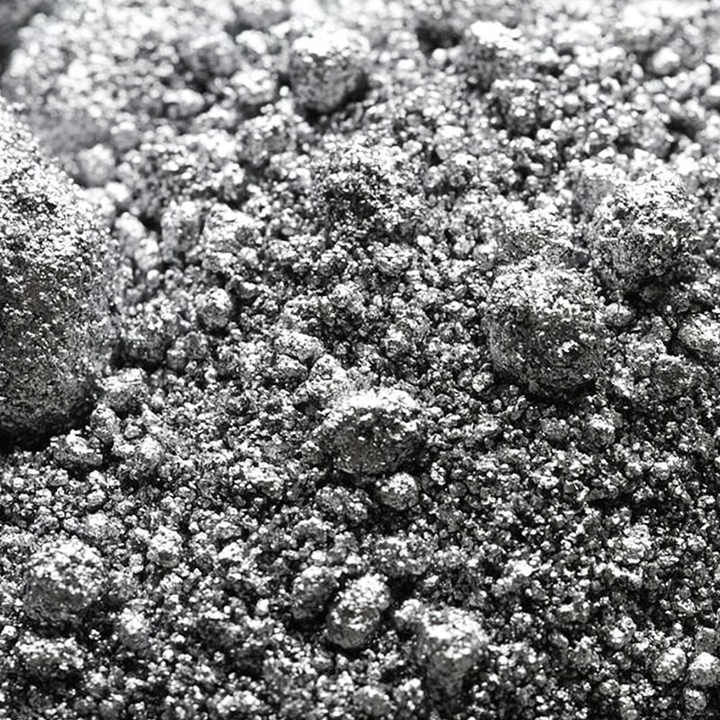
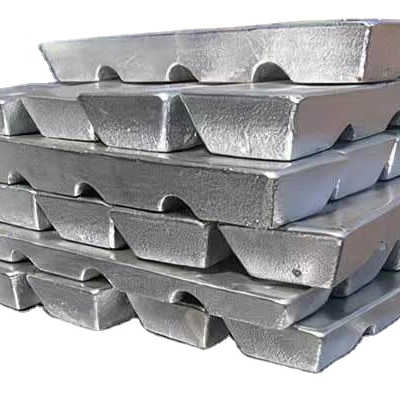
Silver refining involves removing impurities from silver to obtain a purer form. The process typically includes melting down the silver, separating impurities, and casting it into bars or other shapes. The goal is to achieve a silver content that is as close to 100% as possible.
Essential Tools and Materials
Before starting your DIY silver refining project, gather the following tools and materials:
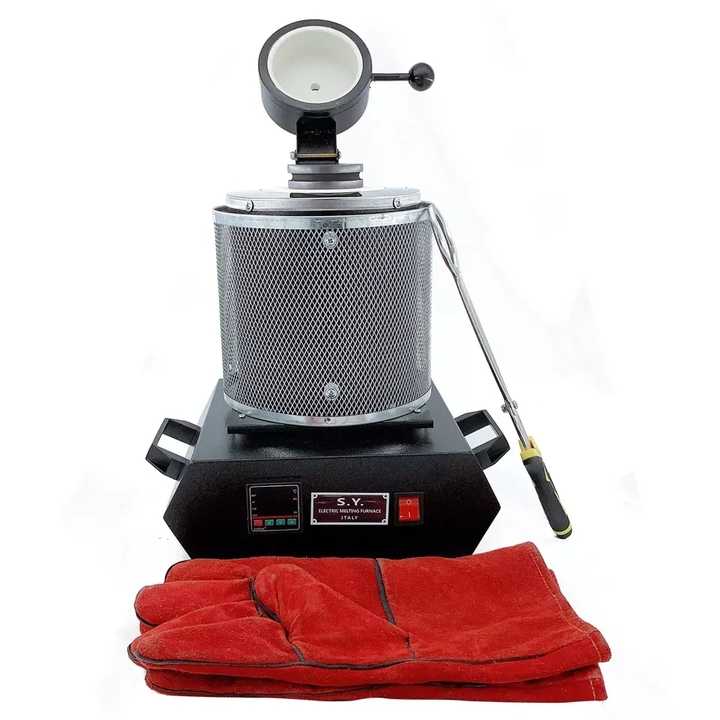
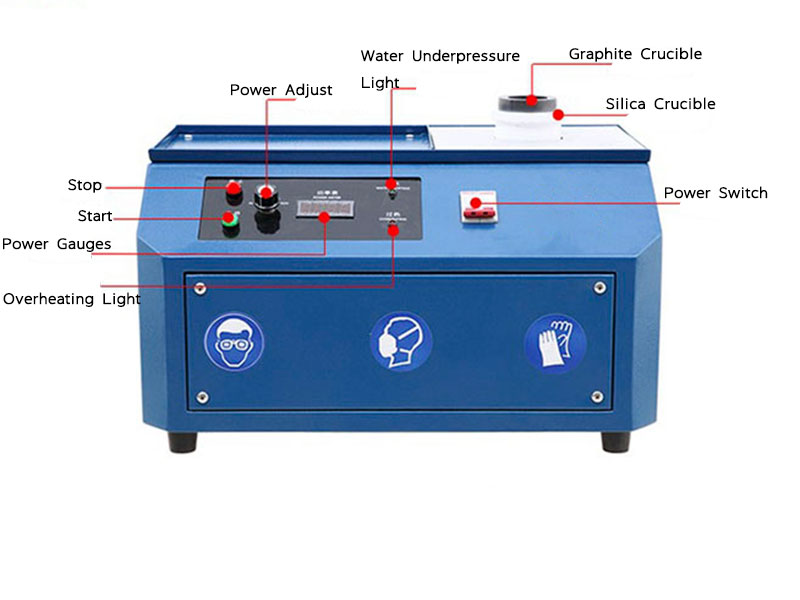
- Crucible: A heat-resistant container to hold your silver during melting. Graphite or ceramic crucibles are ideal.
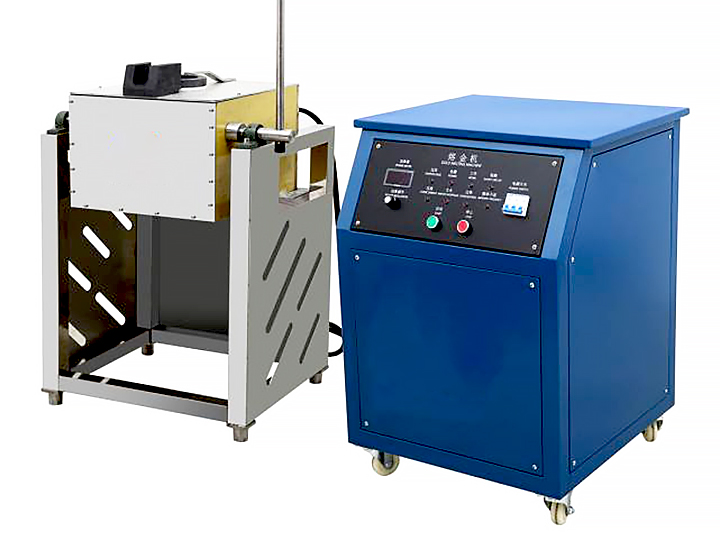
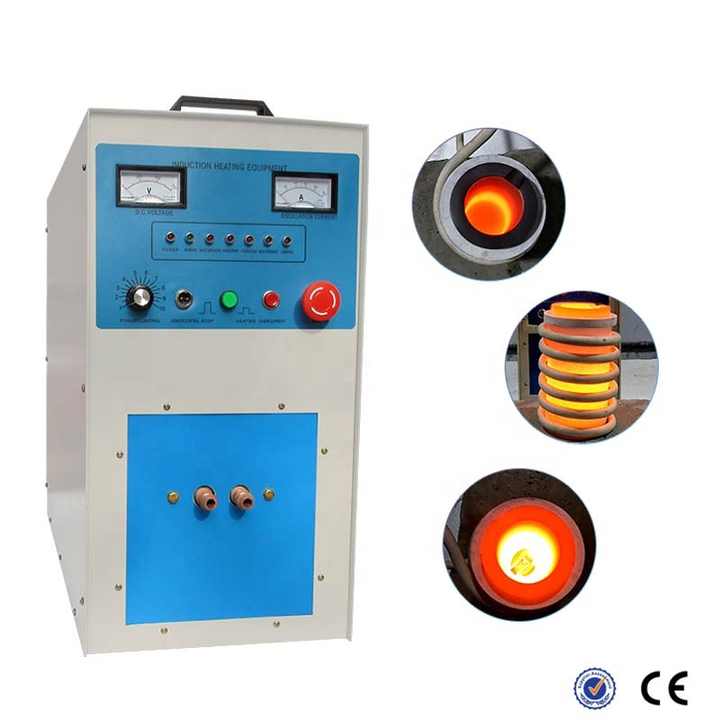
- Heat Source: A propane torch or a small furnace can effectively melt silver.
- Protective Gear: Safety goggles, gloves, and a mask are essential to protect against fumes and heat.
- Flux: Borax is commonly used as a flux to help remove impurities during the melting process.
- Molds: Steel or silicone molds for casting your refined silver.
Step-by-Step Refining Process
Collecting Scrap Silver
Begin by collecting your scrap silver items, which may include old jewelry, cutlery, or coins. Ensure that the items are primarily silver, as mixing metals can complicate the refining process.
Melting the Silver
- Prepare the Work Area: Ensure your workspace is well-ventilated and free of flammable materials.
- Add Flux: Place your scrap silver into the crucible and add a small amount of borax. The flux helps to absorb impurities and makes the refining process more efficient.
- Heat the Silver: Using your torch or furnace, heat the crucible until the silver melts. This typically requires temperatures above 1,760°F (960°C). Keep the heat steady until the silver is fully liquefied.
Removing Impurities
As the silver melts, impurities will rise to the surface as a slag. Carefully skim this slag off with a spoon or similar tool to ensure that your refined silver is as pure as possible.
Pouring the Silver
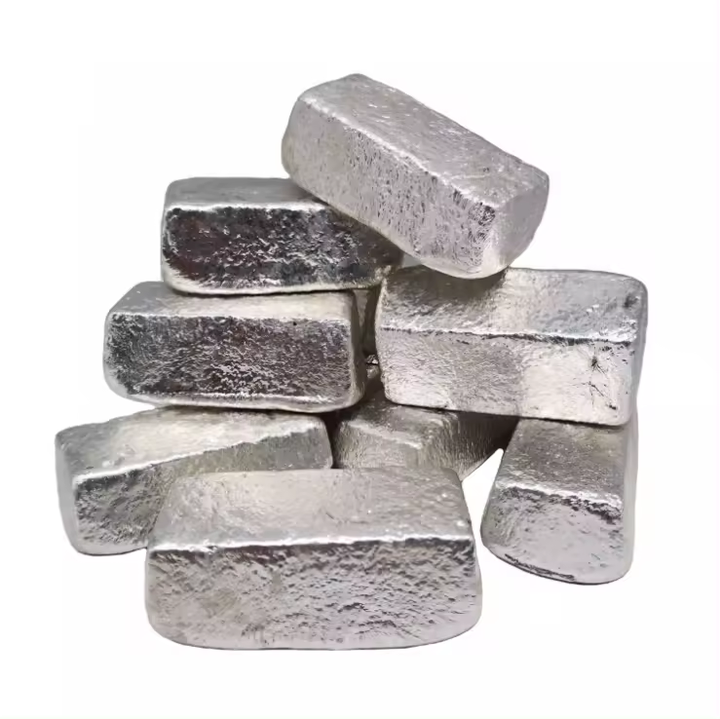
Once the impurities have been removed, carefully pour the molten silver into your pre-prepared molds. Allow the silver to cool and solidify completely.
Finishing Touches
After your silver has cooled, you can remove it from the mold and polish it to achieve a shiny finish. If necessary, you can further refine your silver by repeating the melting and skimming process to increase its purity.
Safety Considerations
When engaging in DIY silver refining, always prioritize safety. Use protective gear to shield yourself from heat and fumes, and work in a well-ventilated area to avoid inhaling harmful substances.
DIY silver refining at home can be an exciting and fulfilling project, allowing you to recycle scrap silver and create pure silver bars or pieces. With the right tools, materials, and careful attention to safety, you can successfully refine silver and enjoy the fruits of your labor. Whether for personal use or as a small business venture, home silver refining offers a practical way to maximize the value of your silver items.