diy silver smelting
Silver smelting is a process of extracting and refining silver from its ores or scrap materials. While traditionally conducted in industrial settings, DIY silver smelting has gained popularity among hobbyists and small-scale miners. This guide will provide a detailed overview of DIY silver smelting, including the necessary equipment, process steps, and safety precautions to help you achieve successful results in your own workspace.
Understanding DIY Silver Smelting
DIY silver smelting involves melting and refining silver at home. Whether you want to recycle old silver jewelry or process raw ore, smelting silver yourself can be both a rewarding and cost-effective endeavor. The process involves heating the silver to its melting point, separating impurities, and casting the refined metal into a usable form.
Essential Equipment for DIY Silver Smelting
To perform DIY silver smelting, you will need several pieces of specialized equipment. Using the right tools ensures that the smelting process is efficient and safe.
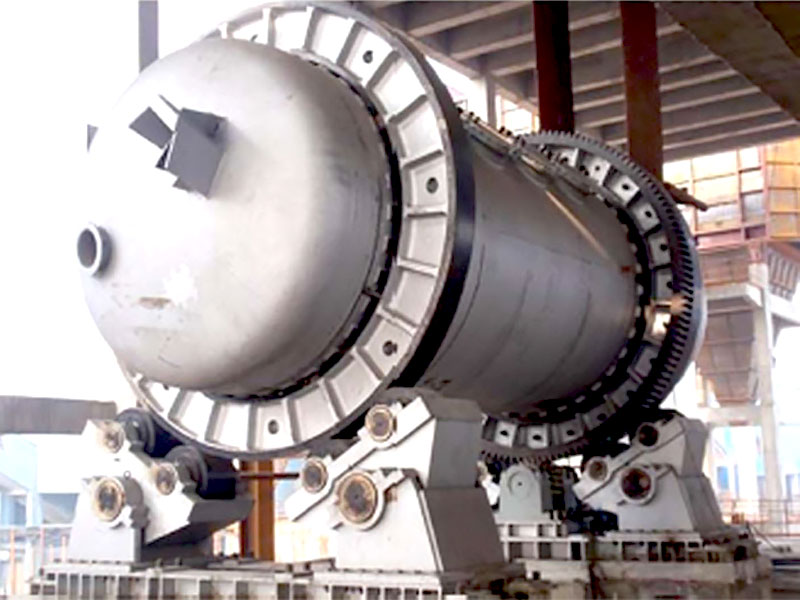
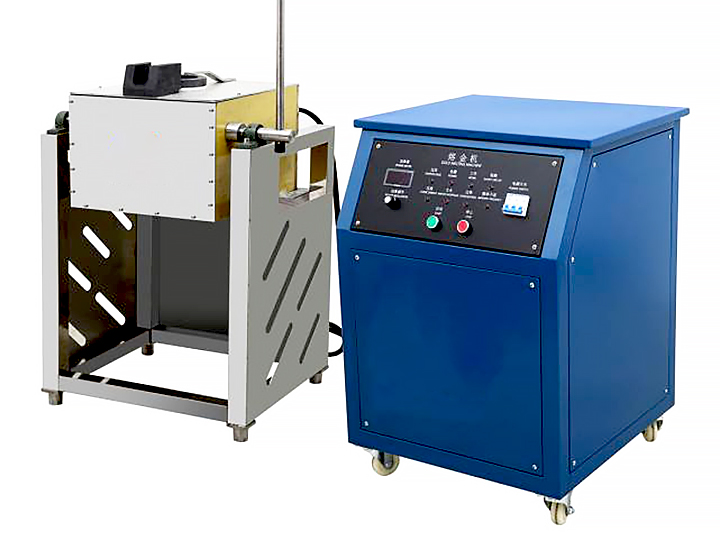
Smelting Furnace
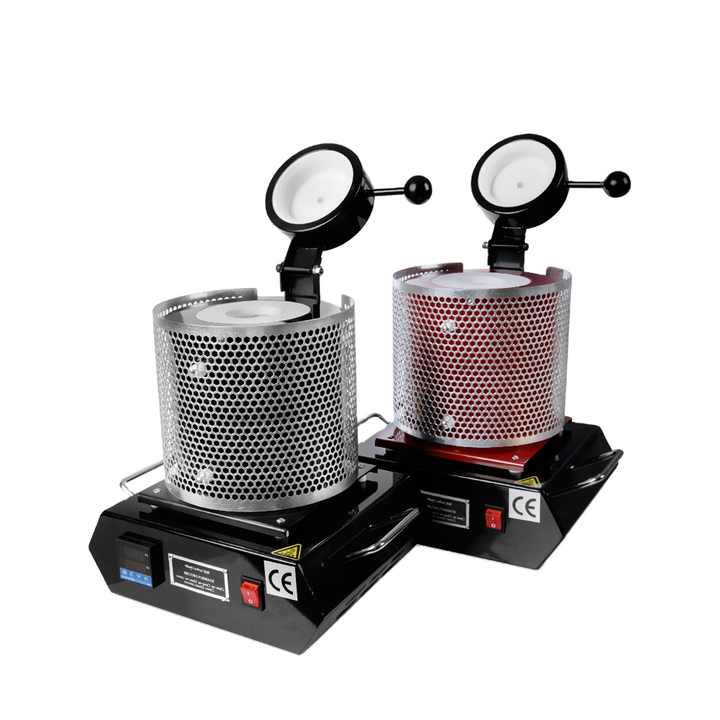
A smelting furnace is crucial for melting silver. For DIY projects, a small propane or electric furnace is commonly used. These furnaces must reach temperatures high enough to melt silver, which has a melting point of approximately 961°C (1,764°F). It’s important to select a furnace that can maintain consistent temperatures to ensure proper smelting.
Crucibles
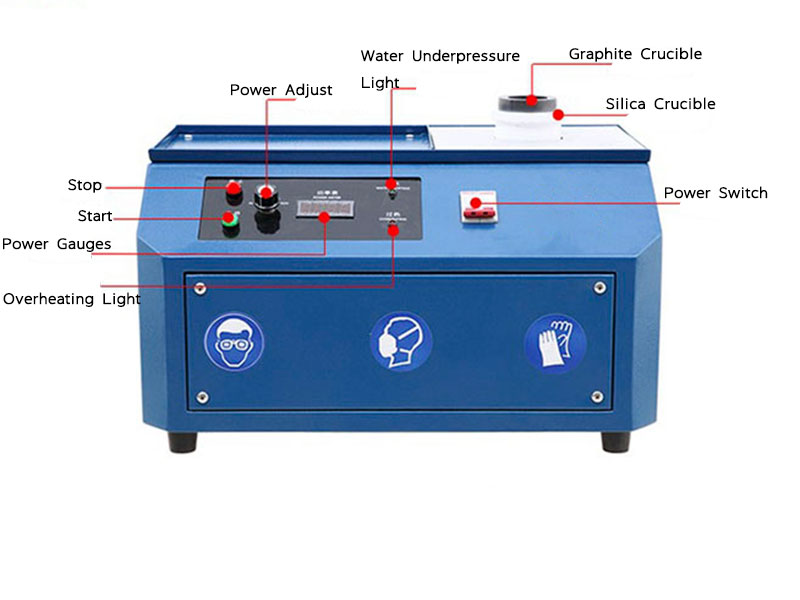
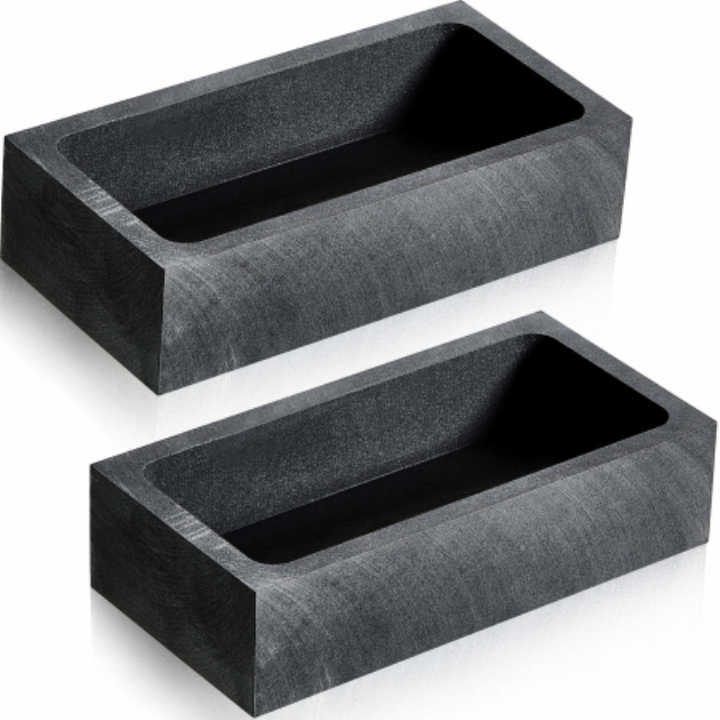
A crucible is a container used to hold the silver during the smelting process. It must be made from materials that can withstand extreme heat. Graphite and ceramic crucibles are popular choices for DIY silver smelting because of their high melting points and durability.
Flux
Flux is a chemical substance added to the smelting mixture to help remove impurities. For silver smelting, common fluxes include borax and soda ash. The flux aids in separating unwanted elements from the silver, ensuring that the final product is as pure as possible.
Safety Gear
Handling molten metal requires proper safety gear. Essential items include heat-resistant gloves, protective eyewear, and a face shield. These items help protect you from burns and injuries caused by hot metal and fumes.
The DIY Silver Smelting Process
The process of DIY silver smelting involves several key steps. Each step is important to ensure that you obtain a high-quality product.
1. Prepare the Materials
Start by gathering your silver materials, which can include scrap jewelry, coins, or ore. Also, prepare your flux mixture. The amount of flux needed depends on the amount of silver you are smelting. For silver smelting, a typical flux mixture might include borax and soda ash.
2. Set Up the Furnace
Position your smelting furnace in a well-ventilated area. Preheat the furnace to the necessary temperature for silver. Ensure that the furnace can reach and maintain a temperature of around 961°C (1,764°F).
3. Add Silver and Flux to the Crucible
Place the silver and flux into the crucible. Make sure the flux is evenly distributed around the silver. This helps ensure that impurities are effectively removed during the melting process.
4. Heat the Crucible
Insert the crucible into the furnace and allow the silver to melt completely. This may take some time, depending on the amount of silver and the furnace’s heating efficiency. The flux will melt along with the silver, forming a layer on top of the molten metal that captures impurities.
5. Pour the Molten Silver
Once the silver is fully melted and impurities are separated, carefully remove the crucible from the furnace using tongs. Pour the molten silver into a mold, which can be made from materials that can withstand high temperatures. Allow the silver to cool and solidify.
6. Clean Up
After the silver has cooled, remove any remaining flux residue. You may need to clean the surface of the silver to remove any residual flux. The final product should be a refined piece of silver, ready for use or further processing.
Safety Tips for DIY Silver Smelting
DIY silver smelting involves working with high temperatures and potentially hazardous materials. Following safety guidelines is essential to avoid accidents and injuries.
- Work in a well-ventilated area: Smelting produces fumes that can be harmful if inhaled. Ensure that your workspace has adequate ventilation.
- Wear protective gear: Always use heat-resistant gloves, protective eyewear, and a face shield when handling molten metal.
- Handle chemicals carefully: Flux and other chemicals used in smelting can be hazardous. Follow proper handling and storage procedures to prevent accidents.
- Keep a fire extinguisher handy: In case of emergencies, having a fire extinguisher nearby is crucial.
- Avoid distractions: Stay focused on the smelting process to prevent accidents caused by distractions.
Benefits of DIY Silver Smelting
Engaging in DIY silver smelting can offer several advantages. For hobbyists, it provides a hands-on way to recycle old silver or process raw materials. It can also be a cost-effective method for producing refined silver for crafting or investment purposes. By performing the smelting yourself, you can save on the costs associated with professional refining services.
DIY silver smelting is an accessible and rewarding process for those interested in working with precious metals. By gathering the right equipment, following proper procedures, and adhering to safety guidelines, you can successfully melt and refine silver at home. Whether you’re a hobbyist, jeweler, or small-scale miner, DIY silver smelting offers a unique opportunity to turn scrap or raw silver into valuable, refined metal ready for use in various applications.

